

Unit 2 of 5
NotebookLM (Gemini Notebook)
Turn your own lecture slides, PDFs and notes into a grounded study partner that cites every answer.
about 15 minutes
By the end of this unit you can
- Build a notebook per subject with the right sources
- Generate study guides, timelines, briefing docs and FAQs
- Use Audio Overview and Mind Maps for revision
- Ask source-grounded questions that always cite
Why it's different
It only answers from your sources
ChatGPT and Gemini answer from everything they have ever seen. NotebookLM answers from what you upload: your lecture slides, the assigned readings, your own notes. Every answer carries an inline citation you can click to jump to the exact sentence in the source.
That single design choice removes the biggest study risk: an answer that sounds right but belongs to a different syllabus. If it is not in your sources, NotebookLM will tell you it cannot find it.
What you can feed it
Set up
One notebook per subject, not per assignment
- 1
Create a notebook named after the course code
e.g. 'BIO2043 Cell Biology'. Keeping subjects separate stops answers from bleeding across modules.
- 2
Upload the spine first
Syllabus, module outline and assessment brief. These give the model the shape of your course before any content.
- 3
Add lecture material weekly
Slides, recording transcripts and your own typed notes. Five minutes each week beats a panic upload in exam period.
- 4
Write a note titled 'What I don't understand'
Keep adding confusions to it. It becomes a source, so you can ask the notebook to teach exactly your gaps.
- 5
Use source selection deliberately
Untick everything except this week's lecture when you want focused revision. Selected sources define the answer space.
Garbage in, garbage cited
Built-in tools
The generated outputs worth using
Study Guide
Key concepts, short-answer questions and a glossary from the selected sources. Best generated per lecture, not per semester.
Briefing Doc
A one-page summary. Great for skimming a reading you had no time for, then go back and read the original.
Timeline
Chronology of events and people. Excellent for history, literature, case law and the development of a theory.
Mind Map
A clickable concept hierarchy. Use it to see how the week's topics connect before you memorise anything.
Audio Overview
Two AI hosts discuss your sources like a podcast. You can join the conversation and ask questions out loud.
FAQ
Anticipates the questions a lecturer would ask. Compare it against past exam papers to find the overlap.
Audio Overview on the bus
Slides and visuals
Turn your notes into slides with custom prompts
NotebookLM is not just for text. With the right custom prompt, you can ask it to turn a chapter, lecture or set of readings into a slide outline, an infographic brief or a presentation script. The trick is to be specific about format, audience and length.
- 1
Pick the sources you want to visualise
Select only the lecture or reading you are turning into slides. Too many sources makes the output noisy.
- 2
Ask for a structured slide outline
Request titles, bullet points, a suggested image for each slide and speaker notes. Tell it how many slides you need.
- 3
Push for infographics when useful
Ask for comparison tables, timelines, flowcharts or step diagrams in markdown or plain text so you can paste them into a design tool.
- 4
Polish in Canva with Magic Layer
Copy the outline into Canva, pick a presentation template, then use Magic Layer to auto-adjust spacing, fonts and image placement.
Need inspiration for custom prompts?
Generate a slide deck from a reading
Using only the selected source, create a 10-slide presentation outline for a class of [year/level] students.
For each slide give: (1) a title, (2) 3 bullet points max, (3) one suggested visual or diagram, (4) one sentence of speaker notes.
Make the first slide an introduction, the last slide a summary, and include one slide for common misconceptions.
Create an infographic brief
Turn the selected source into an infographic brief. Give me: a headline, 5 key statistics or facts with exact quotes, a colour mood, and a layout suggestion (e.g. timeline, comparison, process flow).
Keep all claims grounded in the source and add the citations.
Prompts
Prompts that work in NotebookLM
Turn a lecture into an exam-ready summary
Using only the selected sources, produce:
1. The 7 core concepts, each in one sentence a first-year student would understand.
2. For each concept, the exact term I must be able to define in an exam.
3. Three likely exam questions and a model answer skeleton (bullet points only) for each.
Cite the source for every point.
Find the gaps between lecture and reading
Compare the lecture slides with the assigned reading in my sources.
List: (a) points the reading covers that the lecture skipped, (b) points the lecture stressed that the reading barely mentions, (c) any place where they contradict each other.
Quote both sides with citations.
This is the fastest way to find what a lecturer personally thinks is important.
Explain it to me at my level
I am a [first-year undergraduate] studying [subject]. I do not yet understand [concept].
Using only my sources, explain it in three passes:
1. A plain-language version with an everyday analogy.
2. The academic version using the exact terminology from my sources.
3. A worked example applying it.
End with two questions that test whether I truly understood.
Customise the Audio Overview
Focus this discussion on [topic A] and [topic B].
Assume the listener is revising for an exam next week and already knows the basics.
Spend most of the time on common misconceptions and on how the two topics connect. Keep it under 12 minutes.
Paste this into the 'Customise' box before generating the audio.
Quiz me without giving answers
Act as my tutor using only my sources. Ask me one exam-style question at a time about [topic].
Wait for my answer. Then tell me what was correct, what was missing, and cite the source that shows the gap. Increase difficulty each round. Do not give me the full answer before I attempt it.
Ebook
Download the free companion ebook
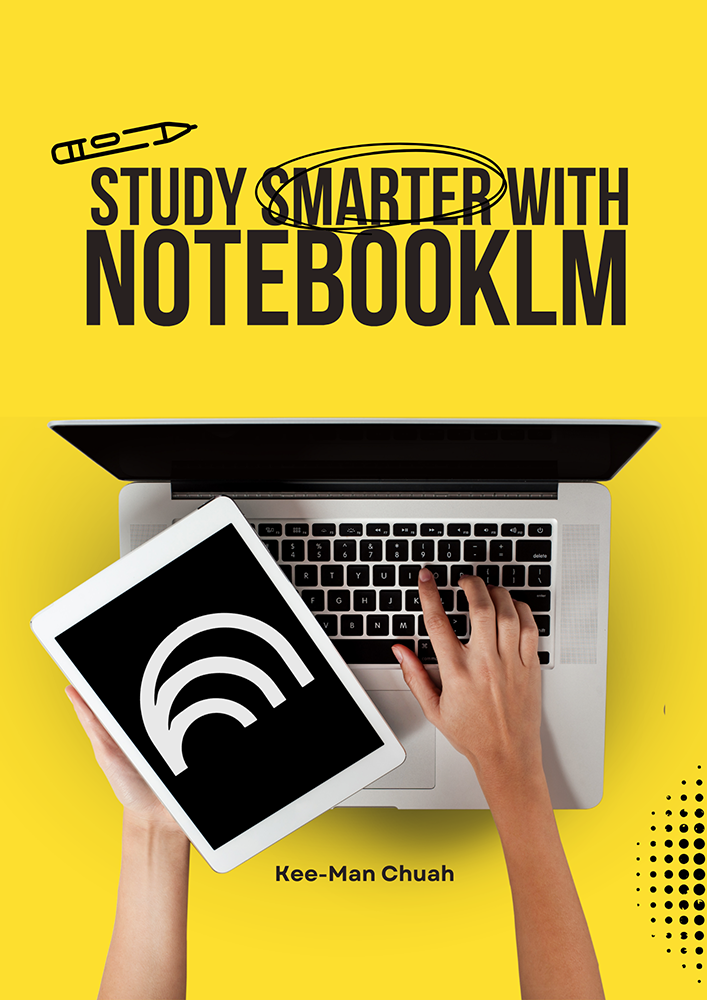
Want 50 more practical ways to use NotebookLM for revision, essays and group study? Grab the free ebook. It expands on the ideas in this unit with copy-ready tips you can start using today.
Download Study Smarter with NotebookLMHabit
A 20-minute weekly loop
Upload this week's material, generate a Study Guide, run the "quiz me" prompt for ten minutes, then add every question you got wrong to your "What I don't understand" note. Do this weekly and your exam revision becomes review, not discovery.